DigitalDirectoryBoards.Com
App Reference Manual
Introduction
- V1.0 (Current): First created | Alex Howard
This is a detailed user reference guide for the DigitalDirectoryBoards.Com application referred to from hereon in simply as “the app”. The app is designed to make creating and managing a digital directory board as simple as possible.
Requirements#back to top
User Requirements - #back to top
- 1. An active email address
- 2. Internet access
- 3. A Windows 7,8,10 or MacOS computer
- 4. Chrome (V64 or newer) - Other browsers may work however support is not guaranteed
- 5. Minimum screen resolution of 1280x720
Player Requirements - #back to top
- 1. Windows 7,8 or 10
- 2. 2GB RAM (4GB Recommended)
- 3. 10GB available disk space
- 4. Internet access
Account Management#back to top
Registration - #back to top
There are two ways a new account can be created.
If you organisation already has a user using the app, you can ask them to add you to the screen/s.
Alternatively you can register your own account by going to
https://au.digitaldirectoryboards.com
First, click register.
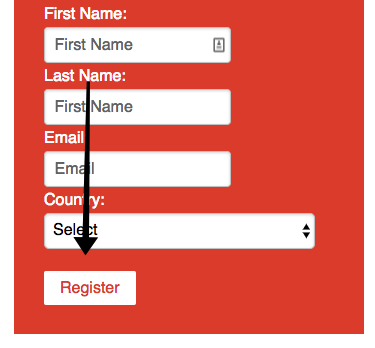
Then enter your details and click register again
Activation: Regardless of whether you register yourself or your account is created for you, you will need to activate your account. When your account is created you will be sent an email within 5 minutes.
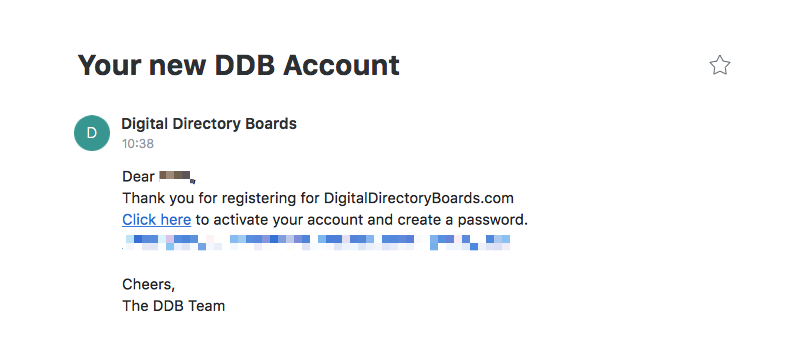
It will look like this, click the link labelled "Click here" to activate your account
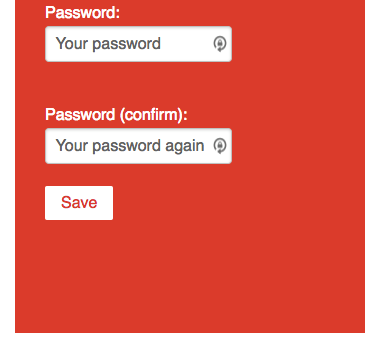
When you click the link you’ll be presented with a page to select a password. Make sure it’s a strong one, the app will try and give you tips if it thinks your password isn’t strong enough. Click save once you’re done.
Signging in - #back to top
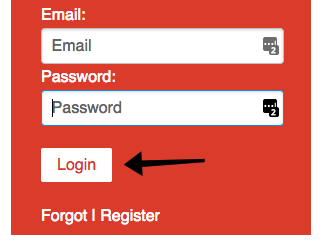
To sign in, simply go to
https://au.digitaldirectoryboards.com
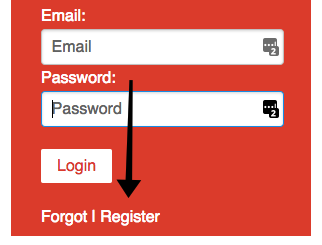
Enter your email address and password and click “Login”
First, click register.
Forgotten password - #back to top
If you forget your password, go to
https://au.digitaldirectoryboards.com
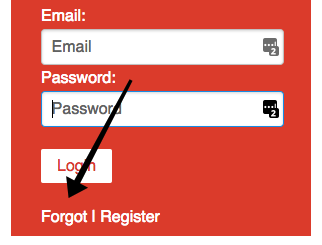
Click “Forgot” at the bottom of the page
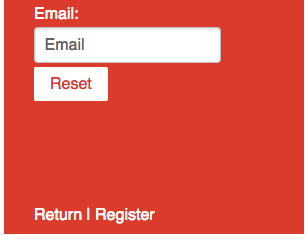
Then type your email address in that you previously used to sign in with and click reset.
You’ll then be sent an email allowing you to reset your password
Change your password - #back to top
To change your password first sign in to the app.
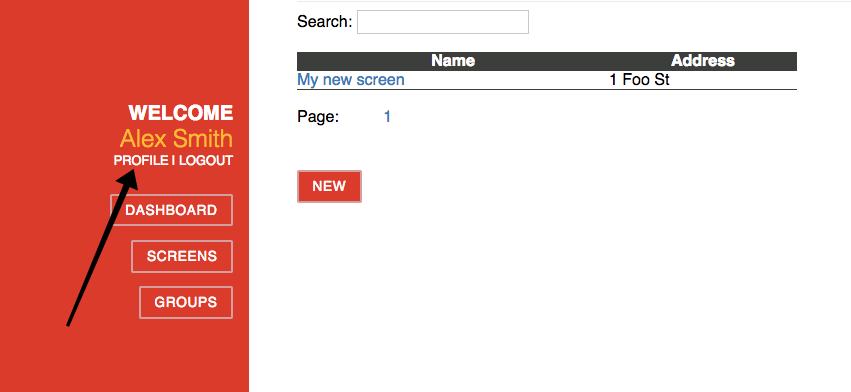
Click “PROFILE” underneath your name in the left hand side menu bar
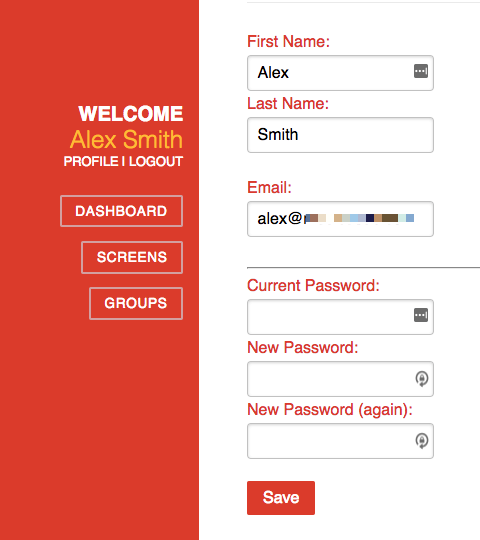
The profile page allows you to change your email address or password, simply make the changes you wish, and click save
Basic Usage #back to top
Adding a tenant
 To add a tenant, click the “ADD” button below the current list of tenant.
It will create a new line with a “-” character as a placeholder for your new tenant.
Click the “-” character, once, this will allow you to edit it. Simply click in the level/suite areas respectively to edit those fields also.
Editing a tenant
To edit a tenant, simply click the tenant in the tenant table on the right hand side of the screen preview.
When you have made your change, press the enter button on your keyboard.
Removing a tenant
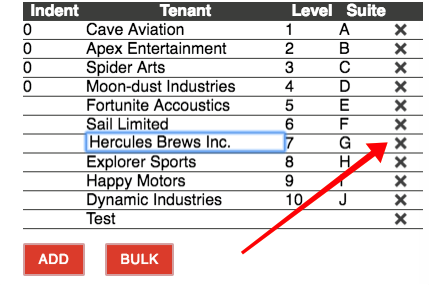
To remove a tenant, simply click the corresponding cross.
Warning: Take care, one click removes the tenant and the action cannot be undone.
Reordering tenants
If your screen is set to order tenants as entered, you can easily rearrange them by drag and dropping to the order you wish.
Deploying your changes
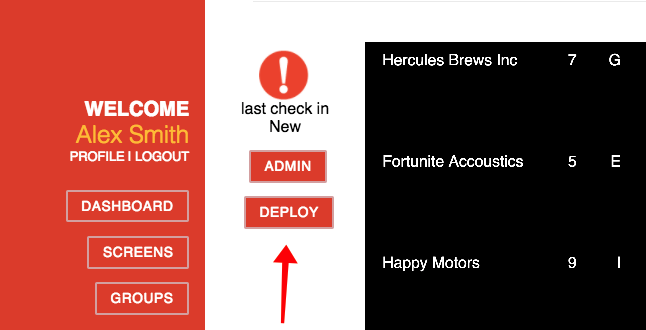
Once you have made all the changes you wish, you’ll need to click the “Deploy” button so we can send the changes to your screen.
How long your screen takes to start displaying your changes will depend on how often the screen is set to check back to the app for changes.
Bulk adding tenants
It is possible to add a large number of tenants easily and quickly by copying them from a pre existing spreadsheet.
This works from Microsoft Excel and Apple Numbers.
- 1. Simply select the rows with tenants in them along with other data you may wish to include (level/suite)
- 2. Copy them to your clip board
- 3. In the app click the “BULK” button at the bottom of the tenant table.
- 4. Paste them into the text area on the left
- 5. Match the columns on the right hand side
- 6. Click save
Indentations
The indentation column in the tenant table allows for consistently sized indentations to tenants when required. This might be required for instance if a tenant has different departments on differing floors.
To edit, simply click once to make the field editable, then click again to select the indentation level.